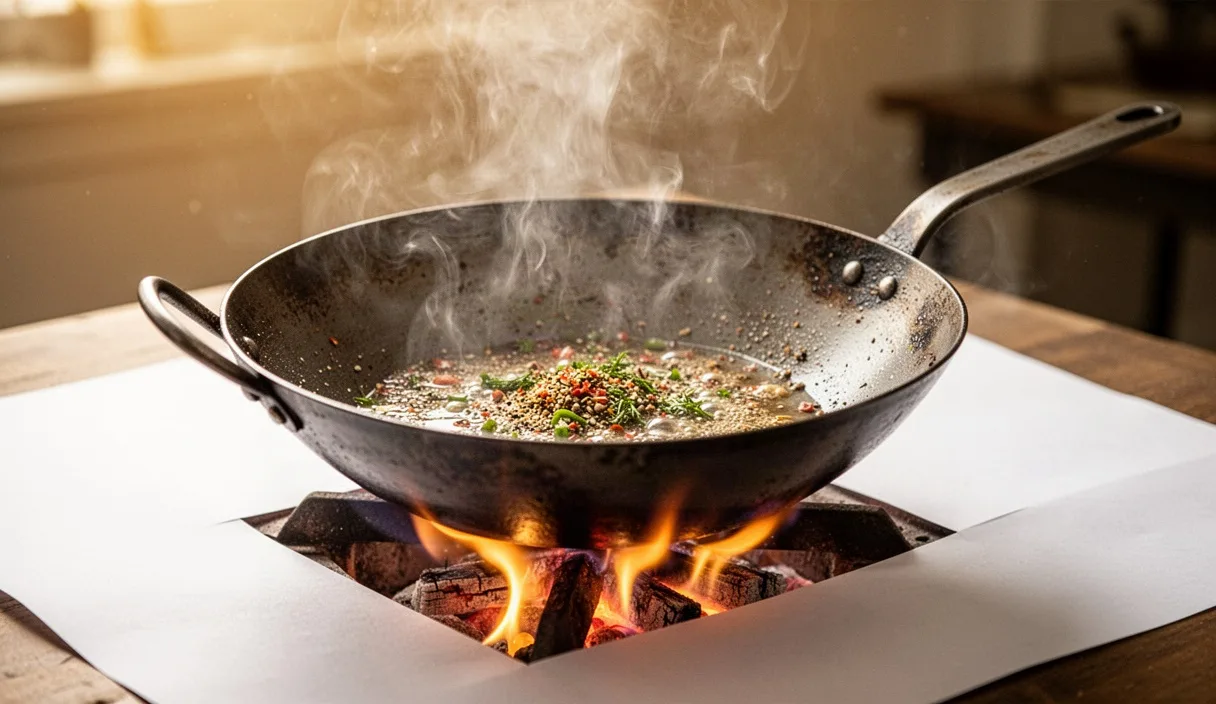
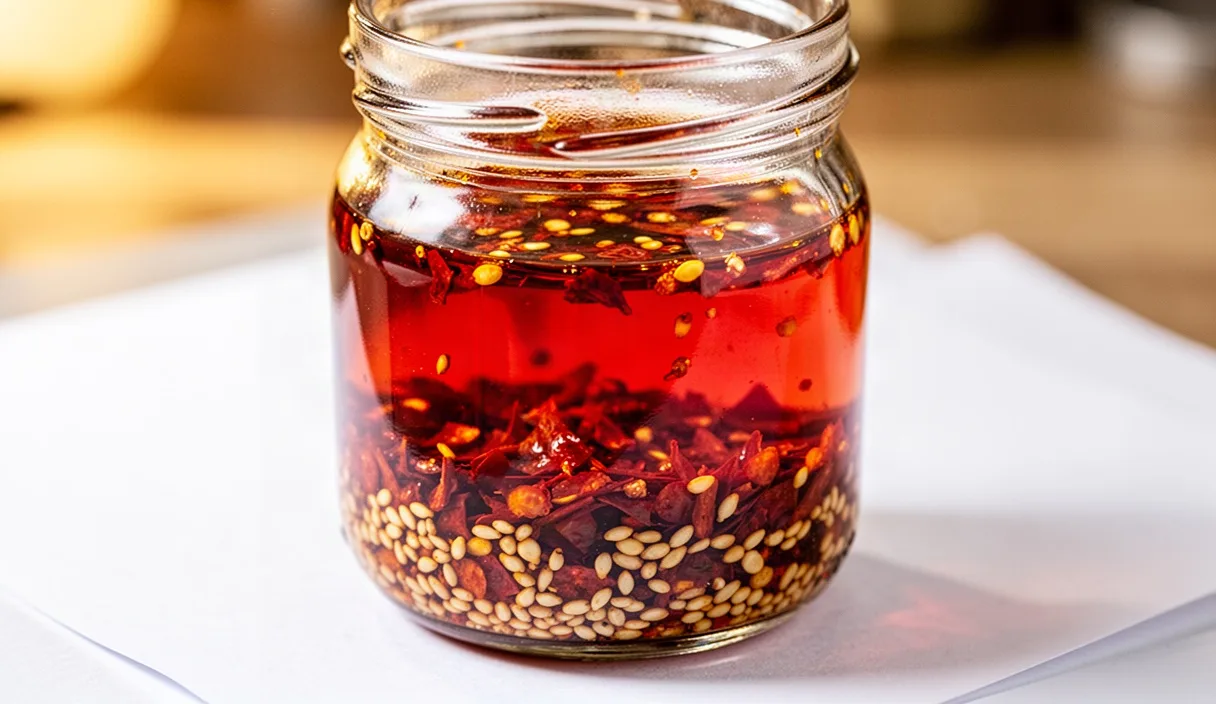
Most home cooks who attempt Sichuan chili oil end up with a familiar disappointment after forty-eight hours: the deep red color looks inviting, but the chili flakes resting at the bottom of the jar have turned into a soft, waterlogged sludge. In a street-stall setting across Chengdu, the flakes inside the condiment jar maintain a distinct, crackling bite that rattles against the spoon even days after the oil has cooled. That enduring texture is not an accident of fresh frying, nor is it the result of commercial preservatives. It comes down to a basic physical reaction between residual vegetable moisture, hot lipid fat, and atmospheric condensation.
How do street vendors achieve this lasting brittle quality without burning the pepper skins? They treat the process as a moisture-expulsion technique rather than a simple infusion. Dried chili flakes are not completely dry; they still contain between eight and twelve percent internal water within their cellular walls. If hot oil locks that water inside by blistering the exterior too quickly, or if the water escapes as steam only to condense back into the jar during cooling, the flake softens into a sponge. Building a crisp chili oil requires precise heat staging, deliberate chili selection, and open ventilation.
Why Single-Pour Oil Burn Flakes
What happens when you heat a pot of neutral oil until it smokes and dump the entire volume over a bowl of raw chili flakes? You trigger an immediate thermal shock that ruins both texture and flavor within three seconds. Think of it like dropping a dry paper towel directly onto a red-hot electric stove element. Dried chili skins contain fragile plant sugars, volatile aromatic oils, and bright red pigments known as carotenoids. When oil above 175 degrees Celsius hits these flakes all at once, the sugars caramelize instantly past the point of sweetness, turning straight into carbon.
The carbonization creates that acrid, soot-like bitterness that ruins a batch of oil. However, trying to fix this by lowering the oil temperature presents the opposite problem. If you pour all of your oil at 130 degrees Celsius to play it safe, the oil lacks the thermal energy required to flash-boil the water out of the pepper flesh. Instead of frying until crisp, the chili flakes simply drink up the warm oil, swell, and become limp. The flakes need high heat to puff and dry out, but prolonged exposure to that same heat destroys them.
A single pour cannot solve this mechanical paradox. When you empty an entire pot of oil into a bowl, the total mass of the hot liquid keeps the ambient temperature inside the bowl elevated for ten to fifteen minutes. The chilies at the bottom remain trapped in an environment that continues to cook them long after the pouring stops. To achieve a brittle, crackling sediment, the chili must encounter an intense burst of heat to vaporize its water, followed immediately by a rapid temperature drop to halt the cooking process.
Selecting the Right Dried Chili Varieties
Can you make crisp chili oil using a single type of pepper from the local grocery shelf? You can, but the final texture will usually fall flat. Sichuan street cooks combine different chili varieties because every pepper possesses a unique skin thickness, a different sugar concentration, and a distinct ratio of seeds to flesh. Relying on generic chili flakes, which are often cut from thick-skinned peppers dried with industrial heat, results in tough, leathery flakes that resist crisping.
To build a balanced texture and flavor, three specific varieties form the traditional working standard in Sichuan kitchens:
- Er Jing Tiao: This long, slender pepper provides a vibrant crimson color and an intensely fruity, roasted fragrance. Its skin is thin, and its sugar content is relatively high, which means it browns quickly and turns brittle with minimal effort. It offers mild heat, measuring roughly 2,500 to 5,000 Scoville Heat Units.
- Chao Tian Jiao (Facing Heaven): A plump, bullet-shaped pepper with sturdy, medium-thick walls. Because its skin is thicker, it provides the structural backbone of the crisp sediment. It holds its crunch against the oil for weeks without dissolving. It packs a moderate punch, sitting between 25,000 and 35,000 Scoville Heat Units.
- Qi Xin Jian (Seven Stars): A small, thin-skinned chili used primarily for fierce, sharp heat. Its walls are delicate, and its seeds separate easily during crushing, adding a dry, nutty crunch to the final texture. It ranges from 50,000 to 60,000 Scoville Heat Units.
The physical size of your grind matters just as much as the pepper variety. If the chilies are processed into a flour-like powder, the microscopic particles burn within a fraction of a second when hot oil hits them. If the flakes are chopped too coarse, like whole thumbnail-sized pieces, the oil cannot penetrate their inner walls to drive out moisture. Aim for a rough, uneven flake between two and three millimeters wide, created using a mortar and pestle or short pulses in a spice grinder. Sift the crushed chilies through a mesh strainer to discard the fine dust before cooking, as that dust is what scorches and turns the oil muddy.
| Chili Variety | Wall Thickness | Heat Rating (SHU) | Functional Role |
|---|---|---|---|
| Er Jing Tiao | Thin | Low (2,500 - 5,000) | Color extraction and roasted fragrance |
| Chao Tian Jiao | Medium-Thick | Medium (25,000 - 35,000) | Long-term structural crunch |
| Qi Xin Jian | Very Thin | High (50,000 - 60,000) | Sharp pungent heat and seed texture |
Timing the Infusion of Whole Aromatics
Before oil ever meets the chili flakes, it must be flavored with whole botanicals. The base oil, traditionally unrefined virgin rapeseed oil known as caizi you, has a pungent, raw vegetal aroma that must be cooked off by heating it until it stops foaming, usually around 220 degrees Celsius. If caizi you is unavailable, refined peanut oil or high-oleic sunflower oil provides a neutral canvas with a high smoke point. But when do the aromatics enter the pan?
A common error is throwing delicate spices into the oil at the same time as wet alliums. Wet ingredients, like fresh scallions, sliced ginger, and crushed garlic cloves, contain up to eighty percent water. Dry spices, including star anise, cassia bark, black cardamom (caoguo), and fennel seeds, contain almost no water at all. If you drop star anise into oil at the same time as cold scallions, the spices sit in hot fat for twenty minutes while the alliums slowly dehydrate. By the time the scallions turn golden, the star anise has burned, lending an astringent, medicinal taste to the fat.
The solution is staggered infusion based on moisture density. Heat your oil to 160 degrees Celsius and introduce your wet aromatics first: sliced ginger, peeled shallots, scallion stalks, and fresh cilantro roots. Let them bubble gently over medium-low heat for ten to twelve minutes. As the moisture cooks out, the bubbling slows from a violent boil to a lazy simmer. When the alliums turn a uniform pale straw color, turn the heat to low and drop in your cracked whole spices. Infuse the dry spices for only three to four minutes, just until their essential oils bloom in the fat. Strain all solids out through a fine metal sieve immediately. Leaving charred botanicals in the pot will turn the oil rancid over storage.
The Two-Stage Temperature Pouring Method
How do we give the chili flakes the intense heat needed to blister away moisture without pushing them past the burning point? We split the infused oil into two measured pours, each delivered at a different temperature. This approach functions like double-frying a potato: the first high-heat stage rapidly evaporates surface water and expands the cellular structure, while the second lower-heat stage infuses flavor and draws out vibrant pigment.
Place your blended, sifted chili flakes into a large, heatproof vessel made of stainless steel or heavy stoneware. Never use glass or plastic, which can crack or melt. Add two tablespoons of raw white sesame seeds, a teaspoon of ground toasted Sichuan tribute pepper (huajiao), a teaspoon of sea salt, and a splash of raw grain alcohol or Chinkiang black vinegar, roughly one teaspoon. What does the alcohol or vinegar do? As the hot oil hits the bowl, the volatile liquid vaporizes violently, creating a temporary envelope of steam that protects the flakes from scorching while puffing their skins like miniature popcorn.
- The Searing Pour: Measure the temperature of your strained, infused oil using a reliable digital probe thermometer. Bring it to 185 degrees Celsius. Ladle or pour approximately half of the hot oil directly over the chili mixture. Stir vigorously with a long metal spoon. The bowl will froth vigorously, releasing a sharp, nutty aroma as the remaining water in the flakes turns into steam. Stir continuously for thirty seconds. This blast of heat crisps the flakes and toasts the sesame seeds. The thermal mass of the cold flakes will rapidly drop the oil temperature inside the bowl down to roughly 145 degrees Celsius.
- The Extraction Pour: Let the remaining oil in your cooking pot rest off the heat until it cools down to 135 degrees Celsius. Pour this second batch into the bowl. This cooler oil immediately arrests the cooking process of the first pour, preventing the flakes from continuing toward carbonization. At 135 degrees Celsius, the oil is warm enough to extract the deep red carotenoid pigments from the Er Jing Tiao flakes, but cool enough that it will not burn the fragile skins.
Once both pours are combined, the oil will continue to gently simmer at a safe, sub-burning temperature for several minutes. The sediment will settle to the bottom, puffed, dry, and thoroughly separated from surface moisture.
Cooling Rules to Maintain Long Crunch
You can execute the two-stage pour with absolute precision and still end up with soggy chili oil twenty-four hours later. How does that happen? The failure happens during the cooling phase. When hot chili oil sits in a container, it continues to shed heat through steam and evaporation. If you snap a lid onto your storage jar while the oil is still lukewarm, that rising vapor has nowhere to go. It hits the cool undersurface of the lid, condenses into liquid water droplets, and drips straight back down through the fat layer, landing directly onto the chili flakes at the bottom.
Oil and water do not mix, but water is denser than oil. Any moisture introduced to the jar sinks through the lipid barrier and pools directly around the chili flakes. The dried flakes act like a desiccant, eagerly absorbing that free water. Within hours, the crisp walls of the fried chili turn soft, pliable, and rubbery. Even worse, introducing free water to an anaerobic oil environment creates conditions where spoilage organisms and mold can thrive. If there is ever any visible mold growth, off-putting sour odors, or cloudiness, consult food safety guidelines and discard the batch immediately.
To preserve the crisp texture, leave the mixing bowl completely uncovered on the counter for at least eight hours, or overnight, until it reaches room temperature throughout the entire depth of the vessel. If you are concerned about dust falling into the bowl, drape a single layer of breathable paper towel or a clean cheesecloth over the rim. Once the oil has fully cooled to ambient room temperature, transfer it to a completely dry glass jar using a clean, dry stainless-steel ladle. Never use a wooden spoon that has absorbed moisture from washing.
Store the finished jar in a dark, cool cupboard rather than the refrigerator. While refrigeration prolongs the shelf life of some condiments, the cold temperature causes certain unrefined fats to solidify and turn cloudy. More importantly, every time you pull a cold jar out into a warm kitchen, atmospheric condensation forms on the inside rim of the glass, introducing moisture that slowly degrades your hard-won crunch.
Common Mistakes
- Using grocery-store chili powder: Commercial chili powder frequently includes ground cumin, garlic powder, salt, and anti-caking agents. The particle size is too small, and the additives burn instantly upon contact with oil above 150 degrees Celsius.
- Discarding the chili seeds: Seeds are rich in natural oils and provide a brittle, woody texture that contrasts with the softer pepper skins. Keep at least half of the natural seeds in your blend.
- Rushing the cooling phase: Putting a lid on a warm jar creates internal rain. Always wait until the container is cool to the touch on the bottom.
- Dipping wet spoons into the jar: A single drop of water introduced from a spoon used to taste broth will sink to the bottom and ruin the crispness of the sediment within two days.
- Overheating ground Sichuan peppercorn: Whole peppercorns can handle gentle infusing, but ground Sichuan peppercorn powder turns intensely bitter if subjected to oil above 150 degrees Celsius. Keep it in the bowl with the flakes; never fry it directly in the pot.
Practical Next Steps
To begin making your own batch, gather your tools before touching the stove. You will need a digital instant-read thermometer with a long probe, a heavy saucepan, a fine-mesh stainless-steel strainer, and a large metal or ceramic mixing bowl. Plan to make a manageable volume of around 500 milliliters of oil, which uses roughly 80 to 100 grams of total chili flakes. This scale allows you to control temperature shifts easily without dealing with dangerous, oversized pots of boiling oil.
Source your Er Jing Tiao and Chao Tian Jiao chilies from an Asian market or a specialized dry-goods purveyor rather than relying on unlabelled bulk bins. Sniff the dried pods before buying: they should smell sweet, fruity, and sharp, with no hint of mustiness or damp storage. Once prepared according to the two-stage method and cooled under open air, your chili oil will maintain its audible, crackling texture on noodles, dumplings, and cold vegetables for months at room temperature.